# Patching the Robot
An important part of looking after your robot is making sure its software is up to date. Over time RoboCon may release patches that allow you to update your robot. Follow the steps below to bring your robot up to date.
# Steps to Patch
Download the patch from the blog to the computer you will be connecting your BrainBox to.
Navigate to the editor by visiting http://robot.go/ and clicking the orange button
Click the upload button (indicated below).
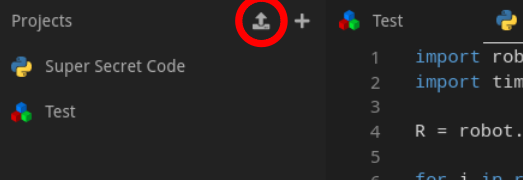
Navigate to where you have saved the patch and click OK.
Select the patch file in the left-hand panel. The patch will show on the code view as Base64 encoded data (random-looking text).
Click the "Run" button (green arrow on the right-hand panel).
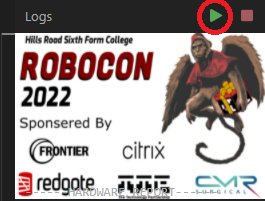
After a few moments, your BrainBox should reboot, and the LED will either turn off or remain on. You will lose connection with it while it does this. Do not turn off your BrainBox - the LED may stay off for up to a minute.
The BrainBox LED will eventually start flashing again to show it has rebooted successfully.
If your PC has not automatically connected, connect to it using the WiFi. Once reconnected, refresh your browser and open a project from the left-hand side of the editor. Check that the patch version is correct in the right-hand panel.
If you have any issues, please contact us using the forum.
TIP
Your robot will restart as part of the patching process, so you will lose connectivity with it for about half a minute. Your laptop should automatically reconnect to the robot when it turns back on. If you cannot connect to your robot, please contact us using the forum.